We use our regular design thinking workshops in schools to ask teachers what skills and topics they need to be more effective educators, spending our lunch breaks and dismissals as micro-FGD’s trying to pick their brains and listening to their needs. Not surprisingly, the most popular request is a workshop on creating learning materials (which could be heavily influenced by the hands-on and playful nature of our workshops). But we listened, and that led us to this May 2015’s Open Lab: DIY / Design it Yourself.

Event poster
Our workshop objective started out simple: to give the teachers confidence in making their own materials. Whether to produce posters to decorate classrooms, or to enhance the look of their lecture slides, teachers are always looking for new ways to design their tools and environments to improve their teaching. You’d always hear teachers feeling helpless: “ay hindi ako marunong magdrowing”, or being too critical of materials: “ampangit ng kulay ng poster, hindi masayahin!” So we initially thought of a skill-building workshop for them, teaching them the fundamentals of design and illustration. But we wanted to push it further, so we added a layer of human-centered design/design thinking. Aside from being able to make materials, we aimed for teachers to be equipped with the mindset to make materials for learning and learners. How can we use what we know about our students to design materials that are more tailor-fit to their needs and desires? What tools can we use to create materials that are age-appropriate and serve the content and pedagogy well? What strategies can help us gain more empathy for our learners?
How can we use what we know about our students to design materials that are more tailor-fit to their needs and desires? What tools can we use to create materials that are age-appropriate and serve the content and pedagogy well? What strategies can help us gain more empathy for our learners?
We designed the workshop day into two chunks: the morning was spent on the mindsets of design thinking, and the afternoon was dedicated to specific design skills and techniques.
Morning: Mindsets
We started the day with a mix of familiar and untested activities on design thinking. The D School’s Wallet Challenge still is one of the best and quick introductions to the mindset of design thinking. It’s experiential (less on the lecture and more on the action), it’s complete (covers all steps of the process), and it’s satisfying (participants get to create a product at the end.)
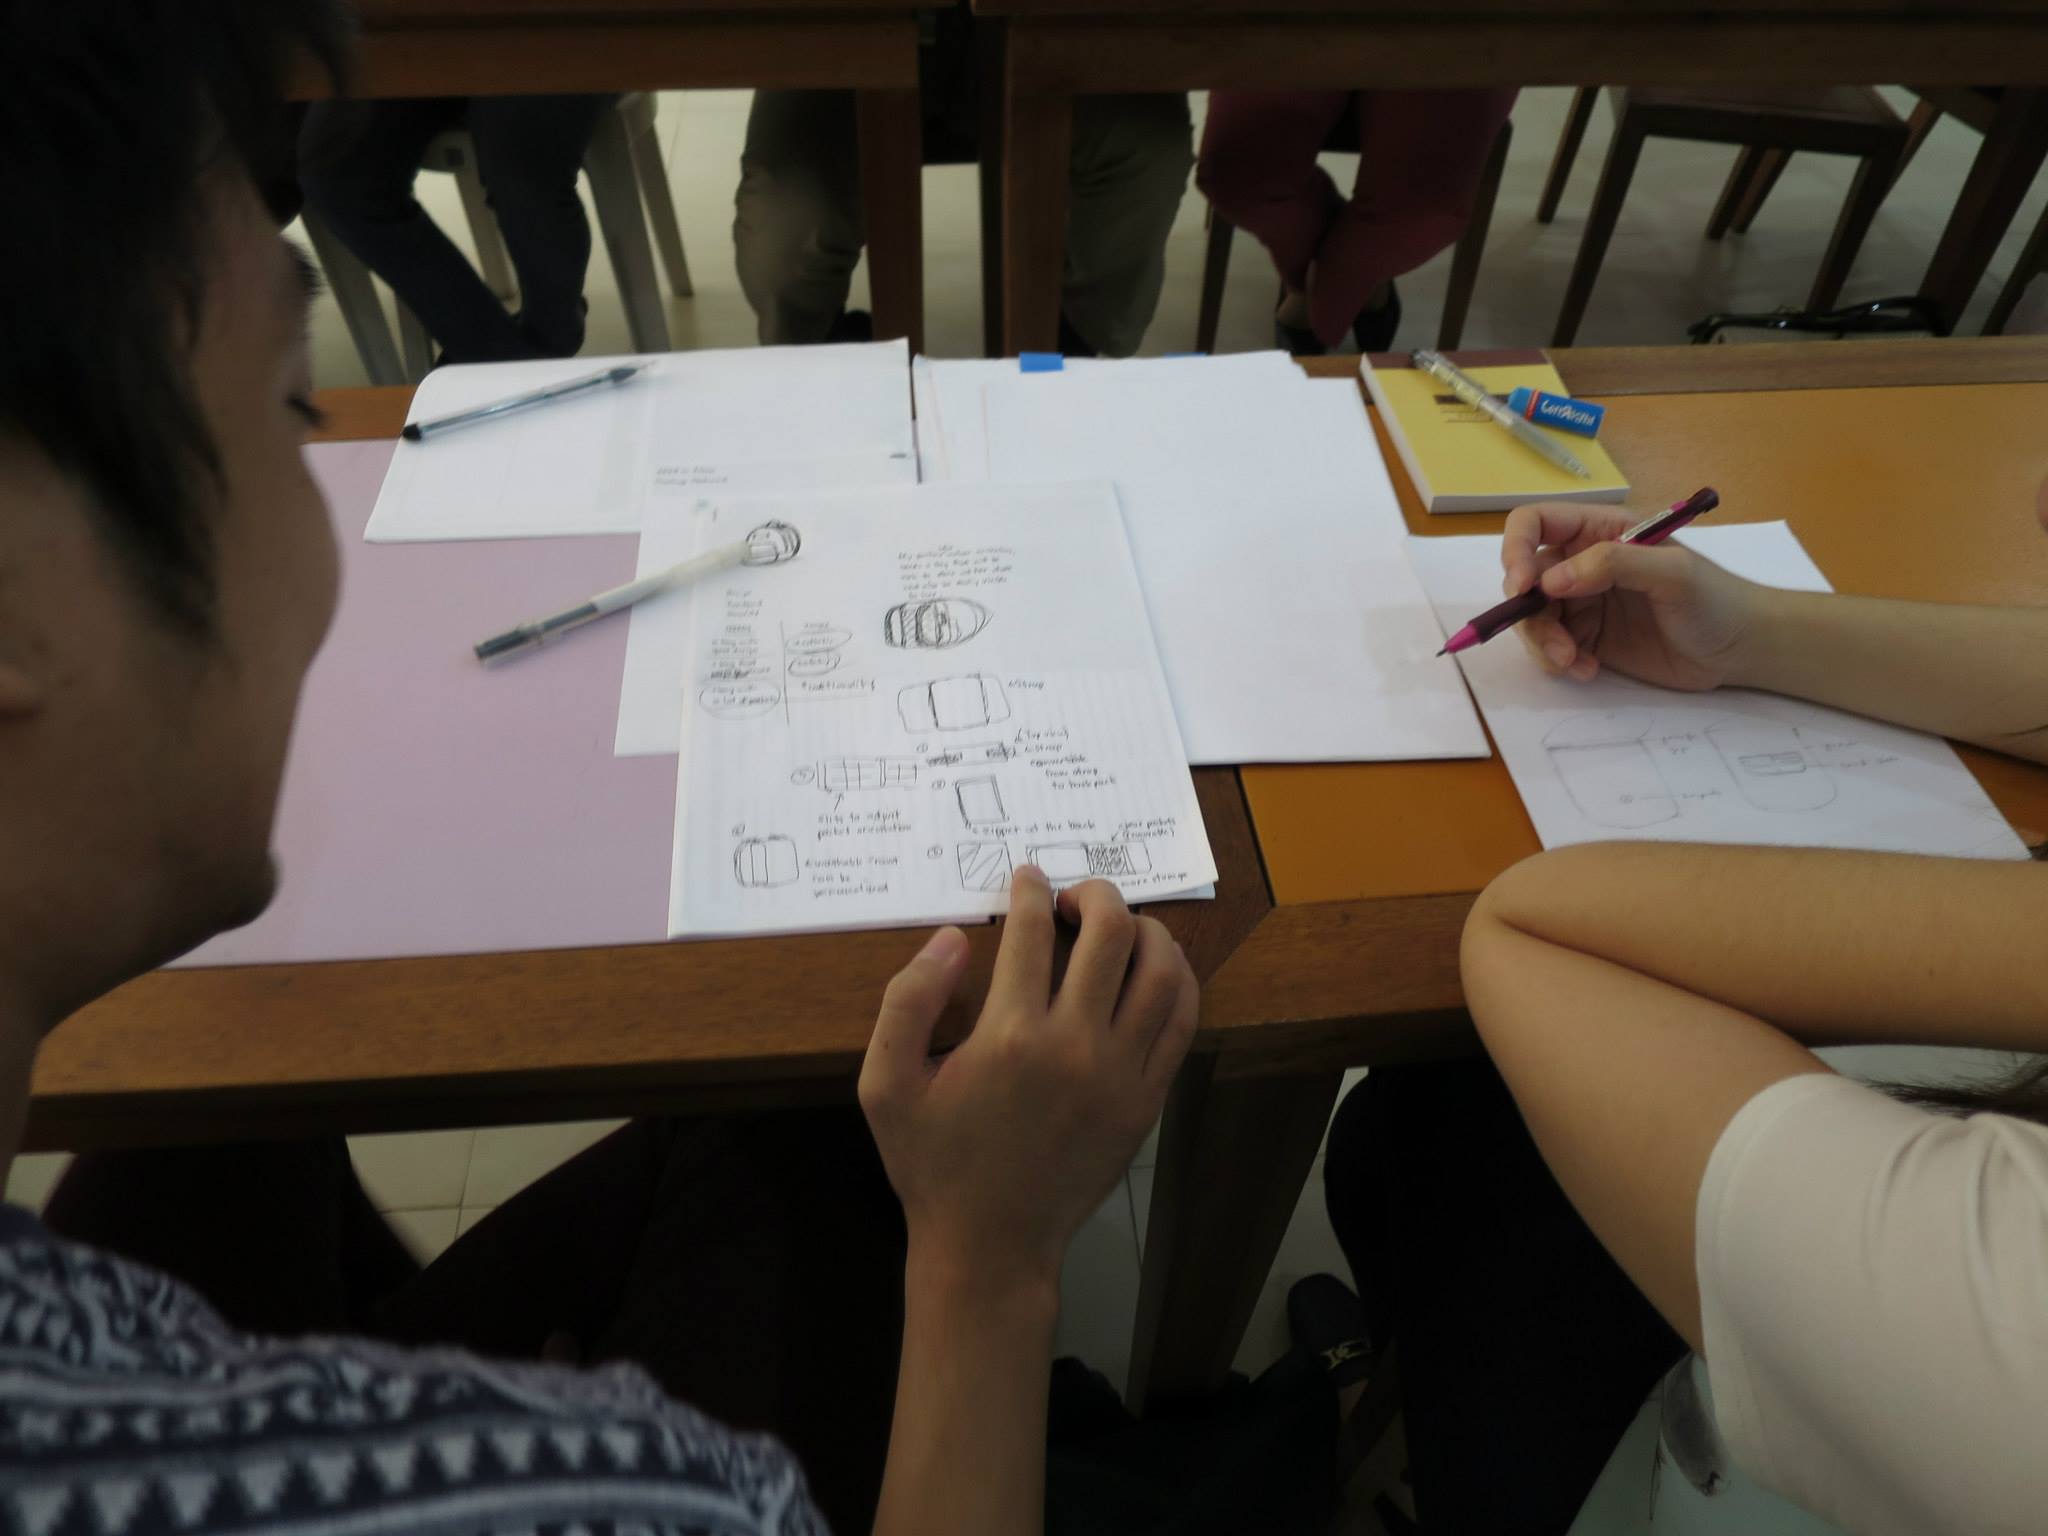
As members of the “Seiko Wallet R&D Department” teachers had to sketch crazy wallet designs for their partners
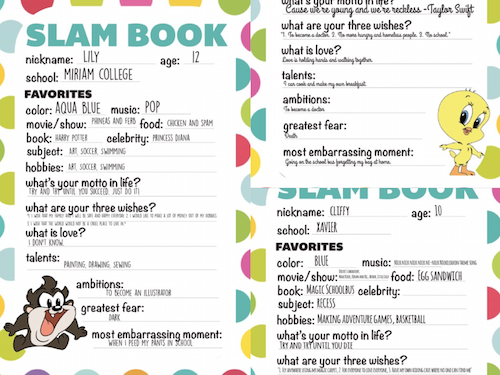
After establishing the fundamentals, we proceeded to Slambook Prototyping, a new set of activities to apply design thinking to education contexts. For the benefit of our readers who aren’t familiar with slambooks, they are notebooks (circa 1990’s to early 2000’s) that are filled with pages of empty question fields that you ask friends to answer. It’s usually filled with cliche’s (who’s your hero what’s your motto in life, define love) and is a great opportunity to know the secret crushes of your classmates. In the workshop, we used slambook entries as user personas, and teachers used the entries as references to make various materials. In preparing for the workshop, the Habi team answered slambook entries as if we were our teenage selves again. We distributed them to the workshop participants and went through a series of prototyping exercises: sketching storybook covers, mobile homework reminder apps, and library floor plans. This was particularly effective in making the participants more comfortable in creating rough sketches in a rapid and repetitive manner–they learned to let go of making everything polished and started making and critiquing prototypes based on the concepts.
It also brought out fascinating discussions about gaining empathy for students. Teachers shared strategies on knowing students better using tools similar to slam books, like student information cards or start of the year surveys. We highlighted a good prompt that teachers can ask during class: “I wish my teacher knew that…”, which some American educators actually used and posted about online. It’s interesting to note how participants interpreted each slambook persona; they were able to develop assumptions about the students based on the responses: “she seems very adventurous, because she talks about flying and ambitions a lot”, “parang emo siya, typical teenager, parang brooding”. (The Habi team found it strange that their inferences were very accurate, though over simplified, lol).
Indeed, it is easy to assume what a student is like based on her/his likes and dislikes, but it also makes it dangerous, since we use our prejudices and biases in doing so. Teachers might also fall into the trap of boxing students into more convenient categories (ex Multiple Intelligences and Learning Styles, or the false left-right brain theory). Thus, when using student personas to customize learning experiences, we should always remind ourselves that context and nuance are key. Easy, of course, when you have a small number of students in class. But what if you have 60 students, how do you accommodate diverse preferences and personalities? This leads to the standardized vs individualized learning debate, and at the end of the day, it is up to the teacher how to balance both. Over-standardization might favor the privileged/majority, while over-customization might lose rigor. This is a tension that teachers deal with everyday, effectively translating student insights (what we know about our students) into practical design decisions (how we intentionally create tools, materials, spaces) for learning. The discussions led to insightful takeaways:
- Make an effort to get to know students. Empathy goes a long way. Show them that you care for them enough to make your lessons more interesting and engaging.
- Don’t simply design for the average, or the majority. The outliers, the marginalized, also matter. Take them into consideration when designing for your learners. Be sure to make your lessons and materials flexible and inclusive. (Good resource: Universal Design for Learning)
- Stick with the learning objectives. Especially with assessments, or when presenting problems/challenges to your learners, check that there are no other obstacles or tasks that are not relevant to the content.
- Use research and literature. There are existing studies that can shed light on developmentally appropriate practices, best practices on design, and others.
Afternoon: Skills
Following the very productive morning discussions and activities, the afternoon was intended for the teachers to gain more confidence and expand their knowledge in arts and crafts. We invited a diverse set of artists, most of them close friends who were near the area so they wouldn’t have to go out of their way to come spend time with us. We asked them to prepare quick projects that they can demonstrate and teach, with learning materials (posters, dioramas, slide decks, props, books, scale models, etc) in mind. We had 35 participants, 8 teachers, and 3 hours. To maximize the time and resources, we used a station-rotation method, giving each artist 25-30 minutes to share their special design skills. The teachers loved it, they were all curious to try all forms that the artists presented: basic character illustration, watercolor fundamentals, upcycling old shirts, kirigami, lettering and typography, visual design for slide shows, and decoupage with rubber foam. It felt like a kindergarten art class, where the teachers were comfortable asking questions, making mistakes, trying new techniques. Unfortunately we had to cut it short, which was met with groans from our participants. “Bitin! Gusto ko pa i-try yung iba!”
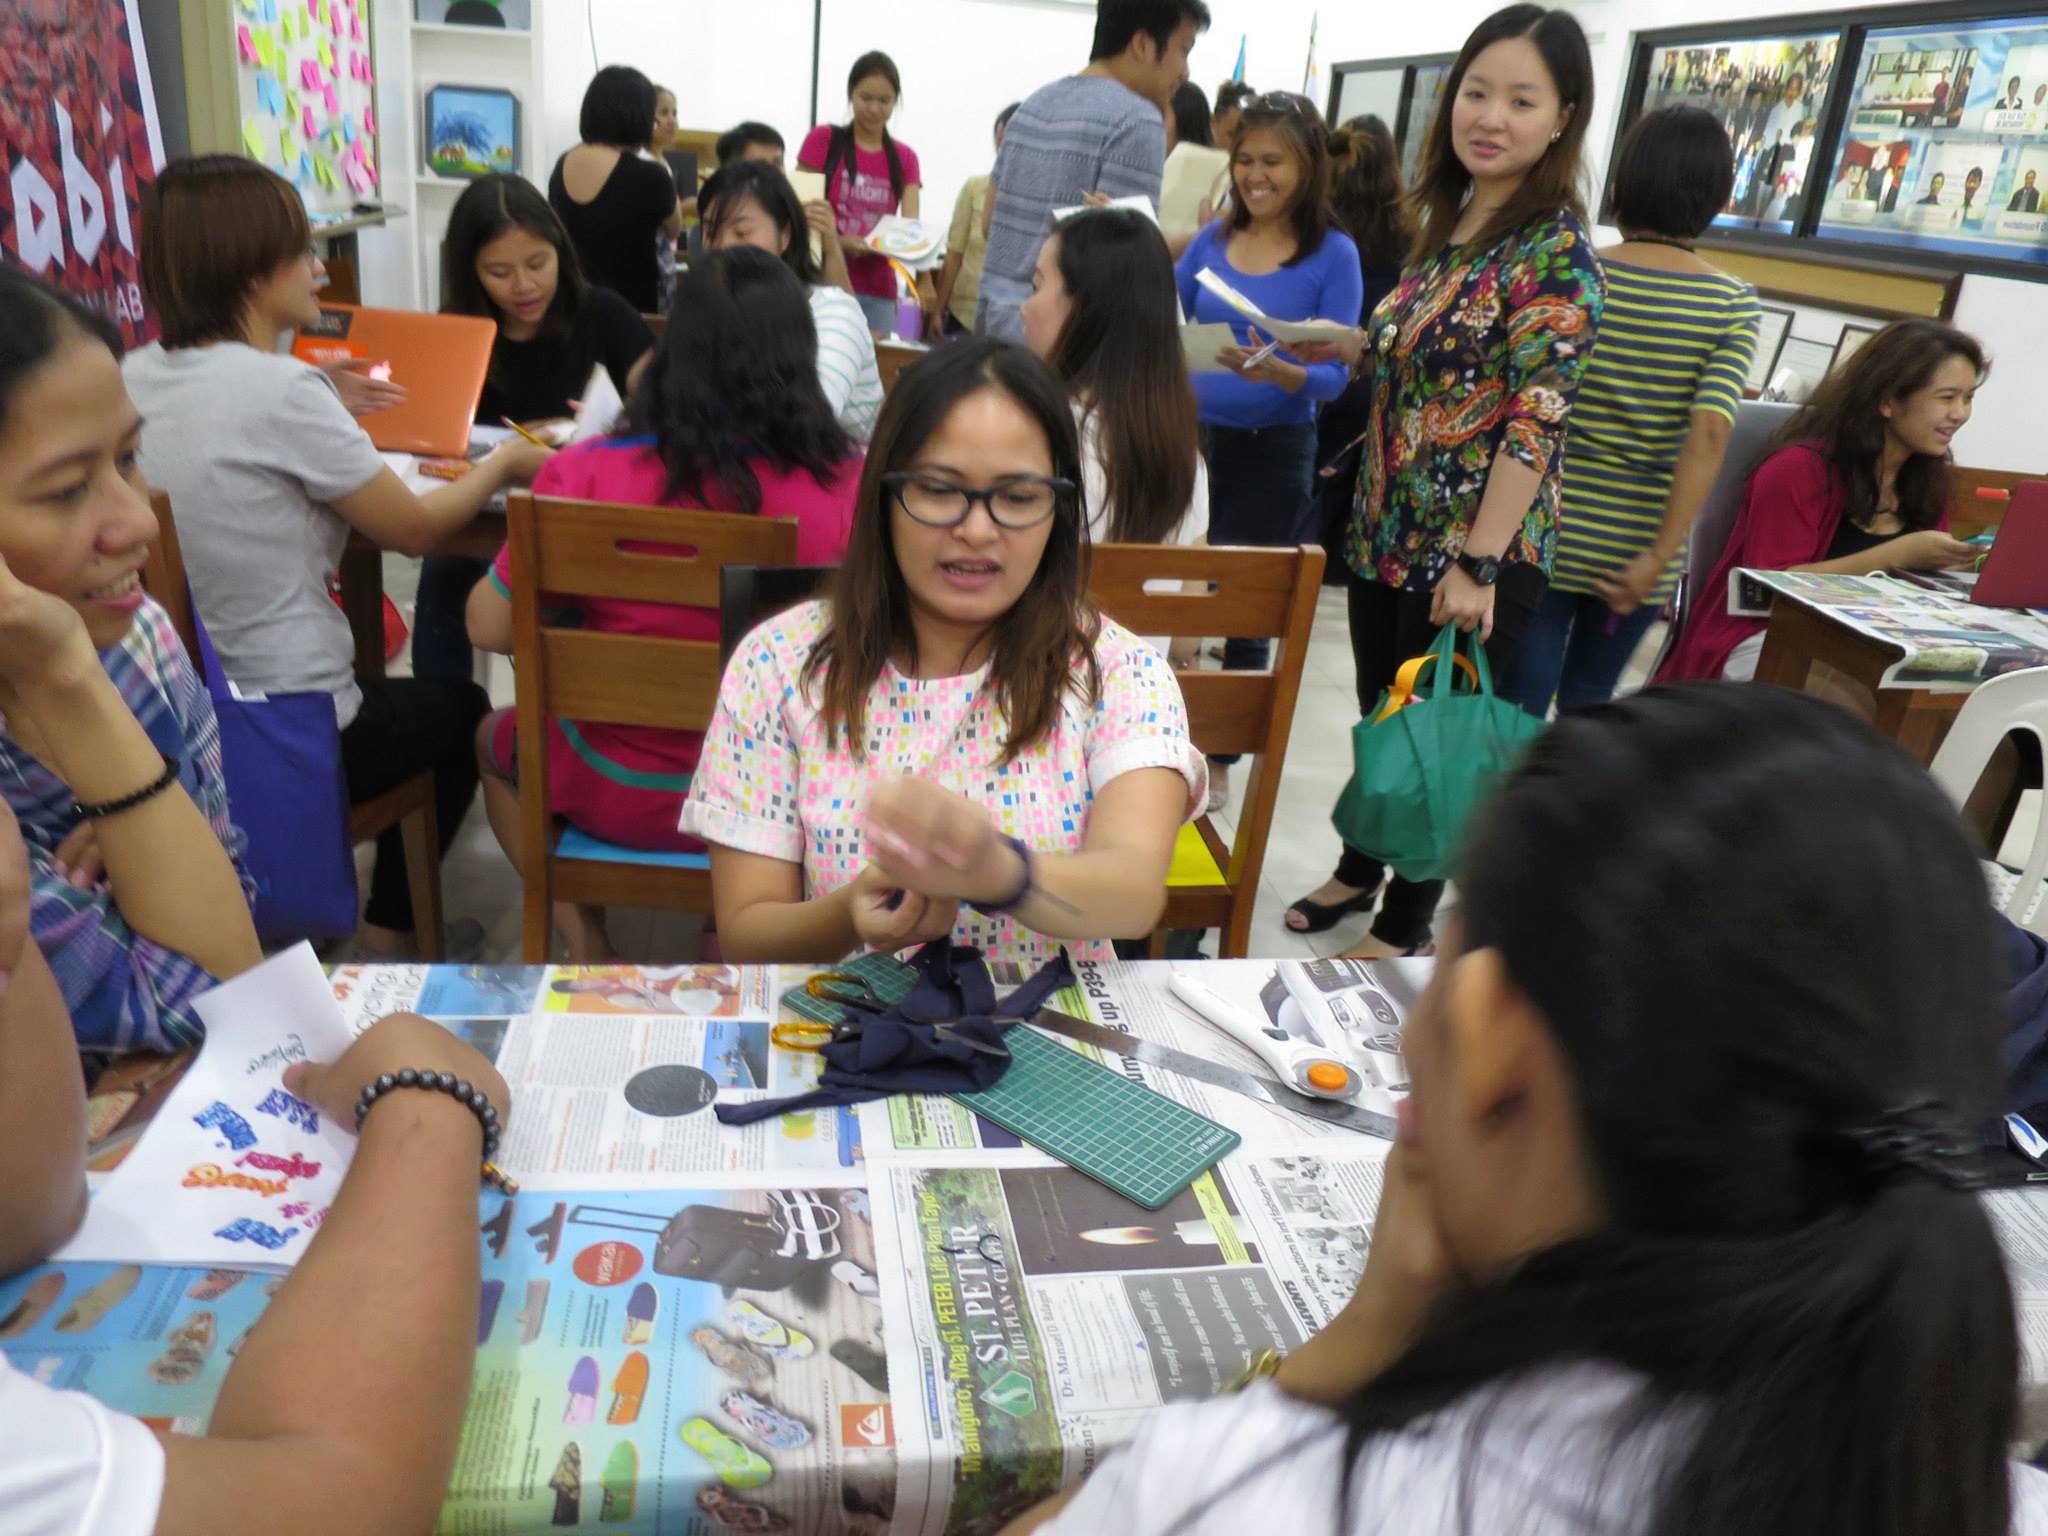
Kitty Caragay showing how to upcycle old shirts
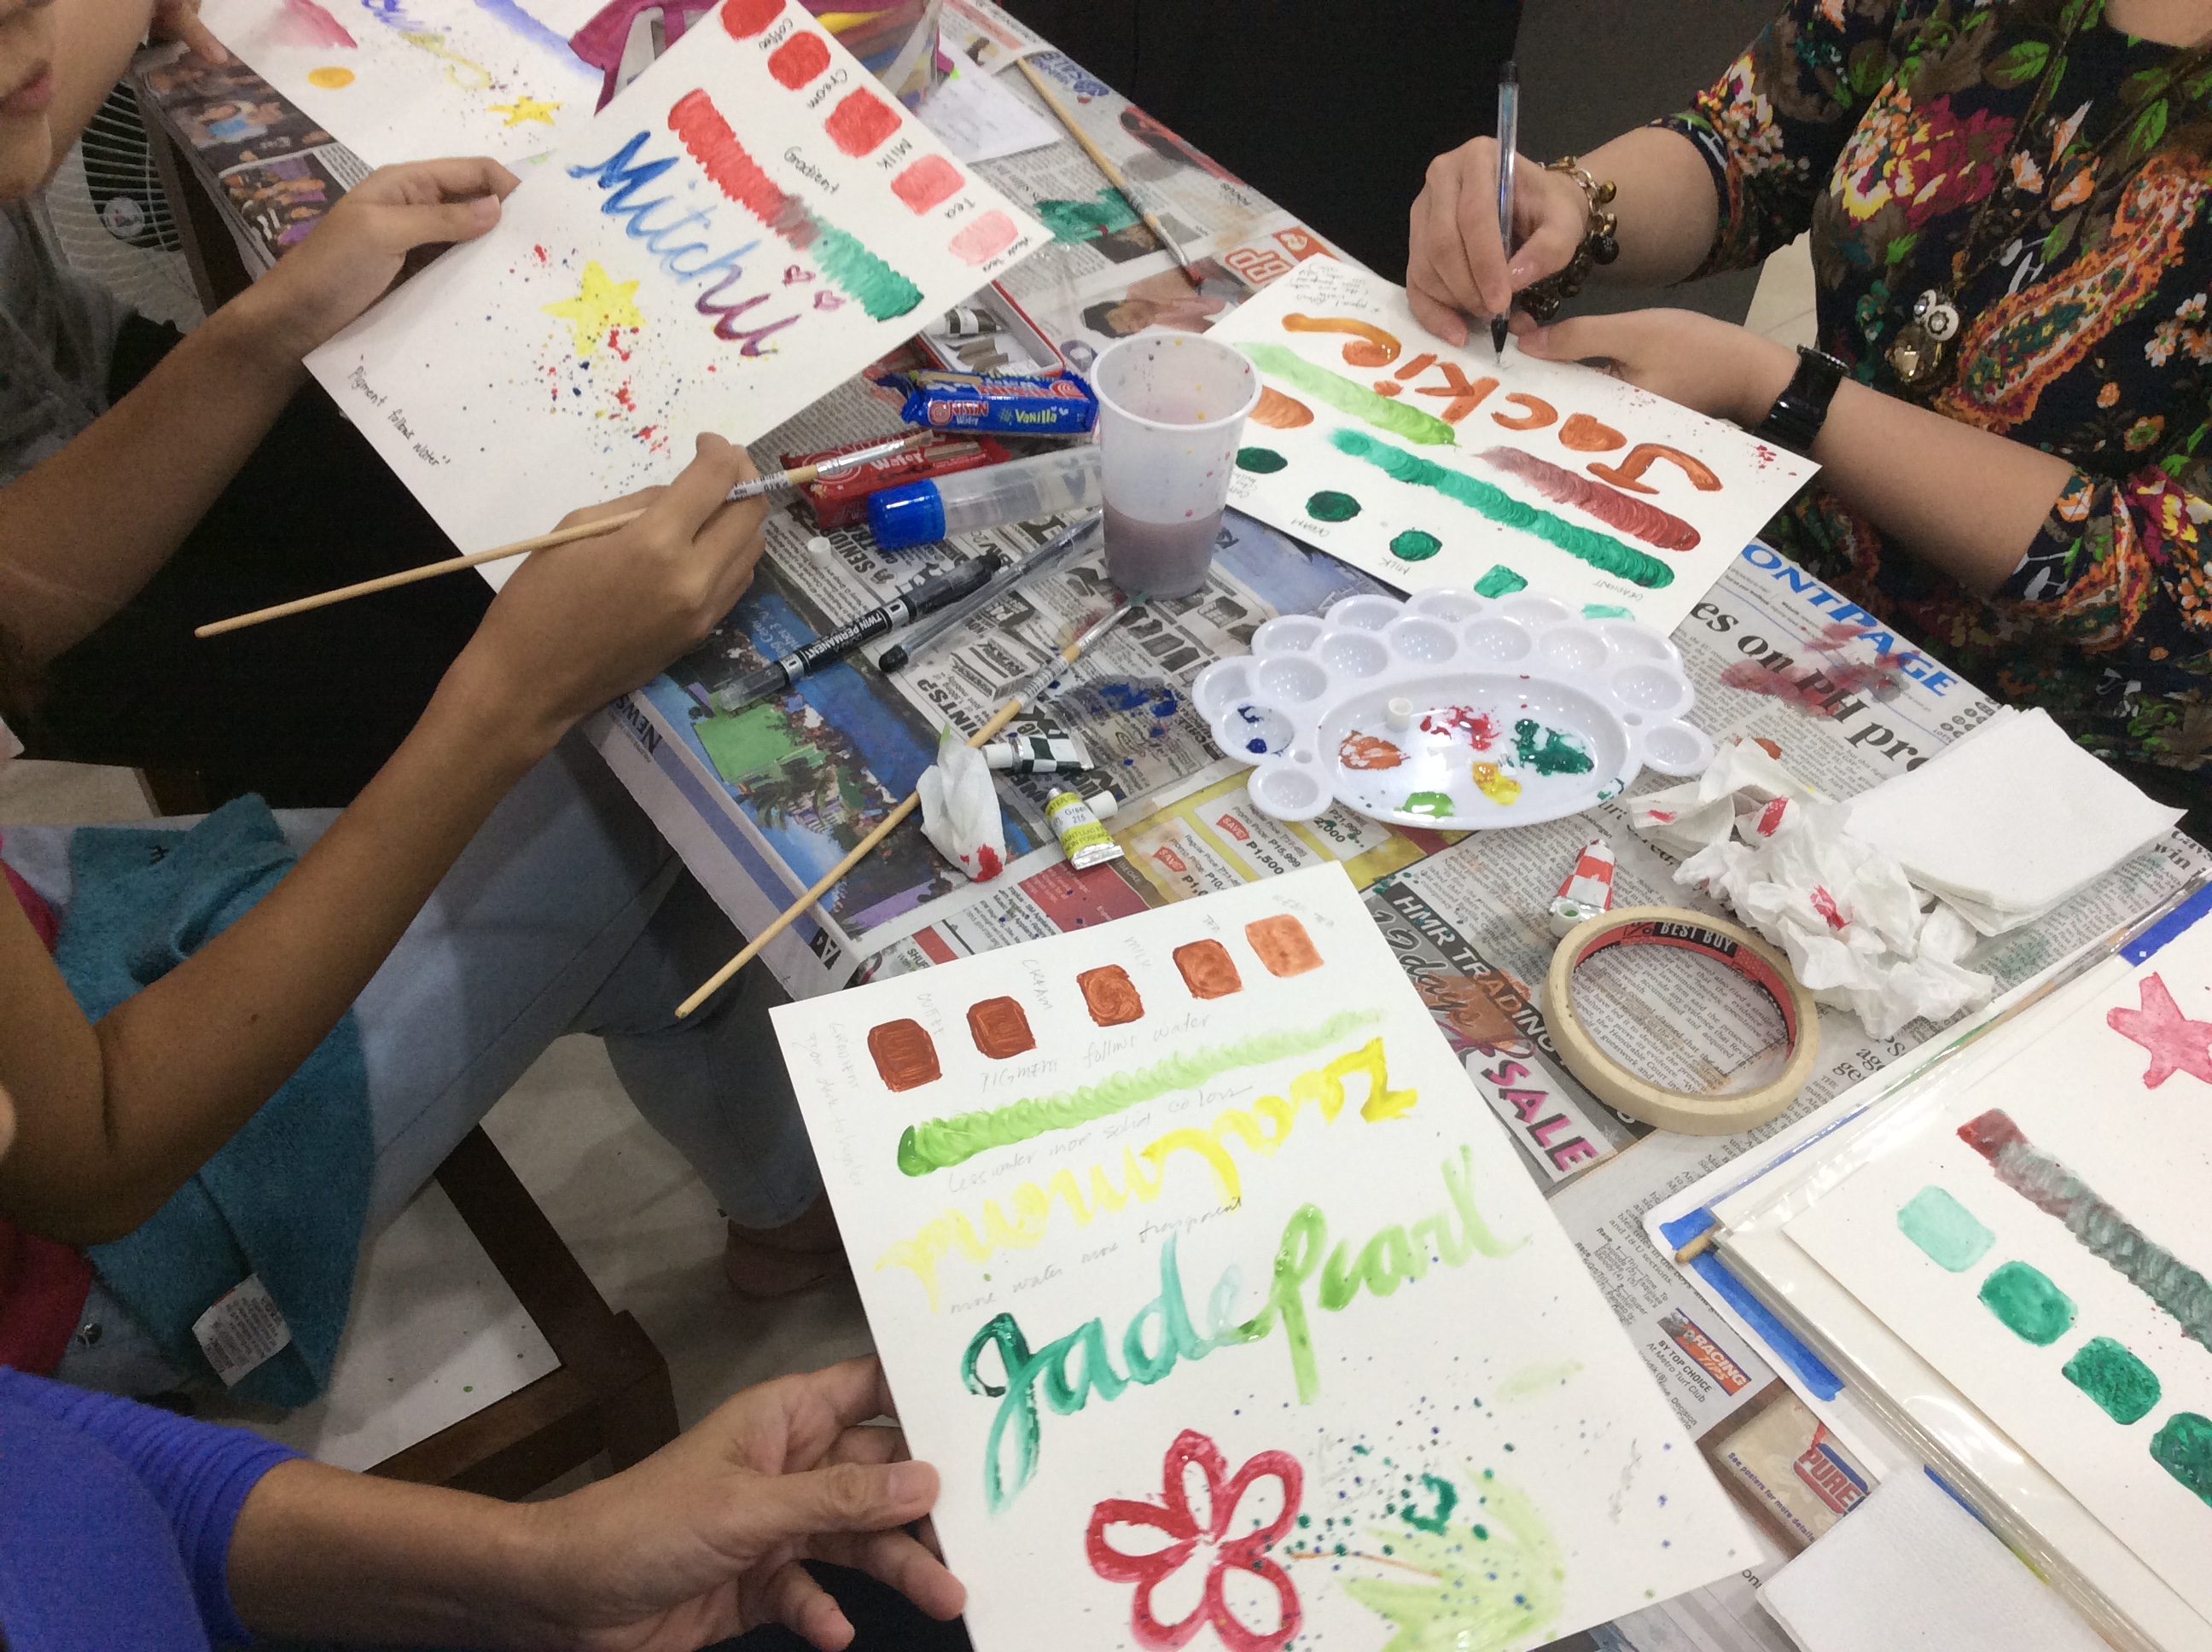
Watercolor practice session
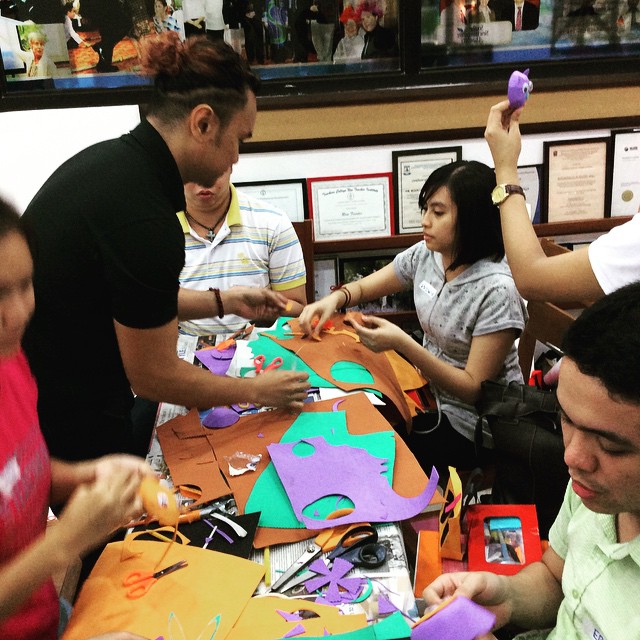
Karlos Soriano and teachers making little characters out of foam board
Despite the limited time, we’d say it was a success. Aside from meeting our goals for this specific workshop, this also proved to be a workshop format that we can share to other teachers so they can do it themselves. We envision Open Labs to be a platform to create new and fun workshop formats and topics that can be replicated and adapted to various school contexts; safe to say the DIY format is something that a lot of the teachers are very excited to bring back to their schools. If you are interested in doing a similar DIY/Design It Yourself workshop in your school by inviting community artists to collaborate with your teachers, here are some tips based on what we learned from our first run:
- Art activities should be hands-on and project-based. Teachers should be working on something to have a sense of fulfillment during the short amount of time.
- Art sessions/stations should be time-flexible. They should be able to do something whether it’s a 30-minute of a 1-hour session. We had to cut some sessions short in order to maximize rotation and variety.
- Keep it beginner friendly. There should be a low barrier to participate in the hands-on activities. Teachers should feel challenged, but not too difficult that would make them feel helpless or too reliant on the artist.
- Teacher(participant)-centered. They should be flexible enough to cater to a variety of teacher’s goals and interests, whether to create storybooks for young kids or to make scale models for high school students. It can also be art activities that teachers can assign as art projects to their students.
- Diverse. There should be a wide range of artists and materials. There should be something for everyone, depending on the context of your teacher-participants.
- Doable afterwards. Teachers should feel empowered (and not helpless or confused) to take these skills home and apply them to their classroom.
Special thank you to our guest artists:
- Kitty Caragay: upcycling shirts
- Katty Caragay: kirigami
- Ice Idanan: basic watercolor techniques
- Renan Ortiz: basic character illustration
- Karlos Soriano: foam board decoupage
- Ateneo Grids: digital graphic design
- UP Architecture Students: lettering and typography

